For any support please don't hesitate to contact us at Support Center. We provide 15 hours real-time support for our customers.
We would like to thank you for choosing Agntix.
Getting started
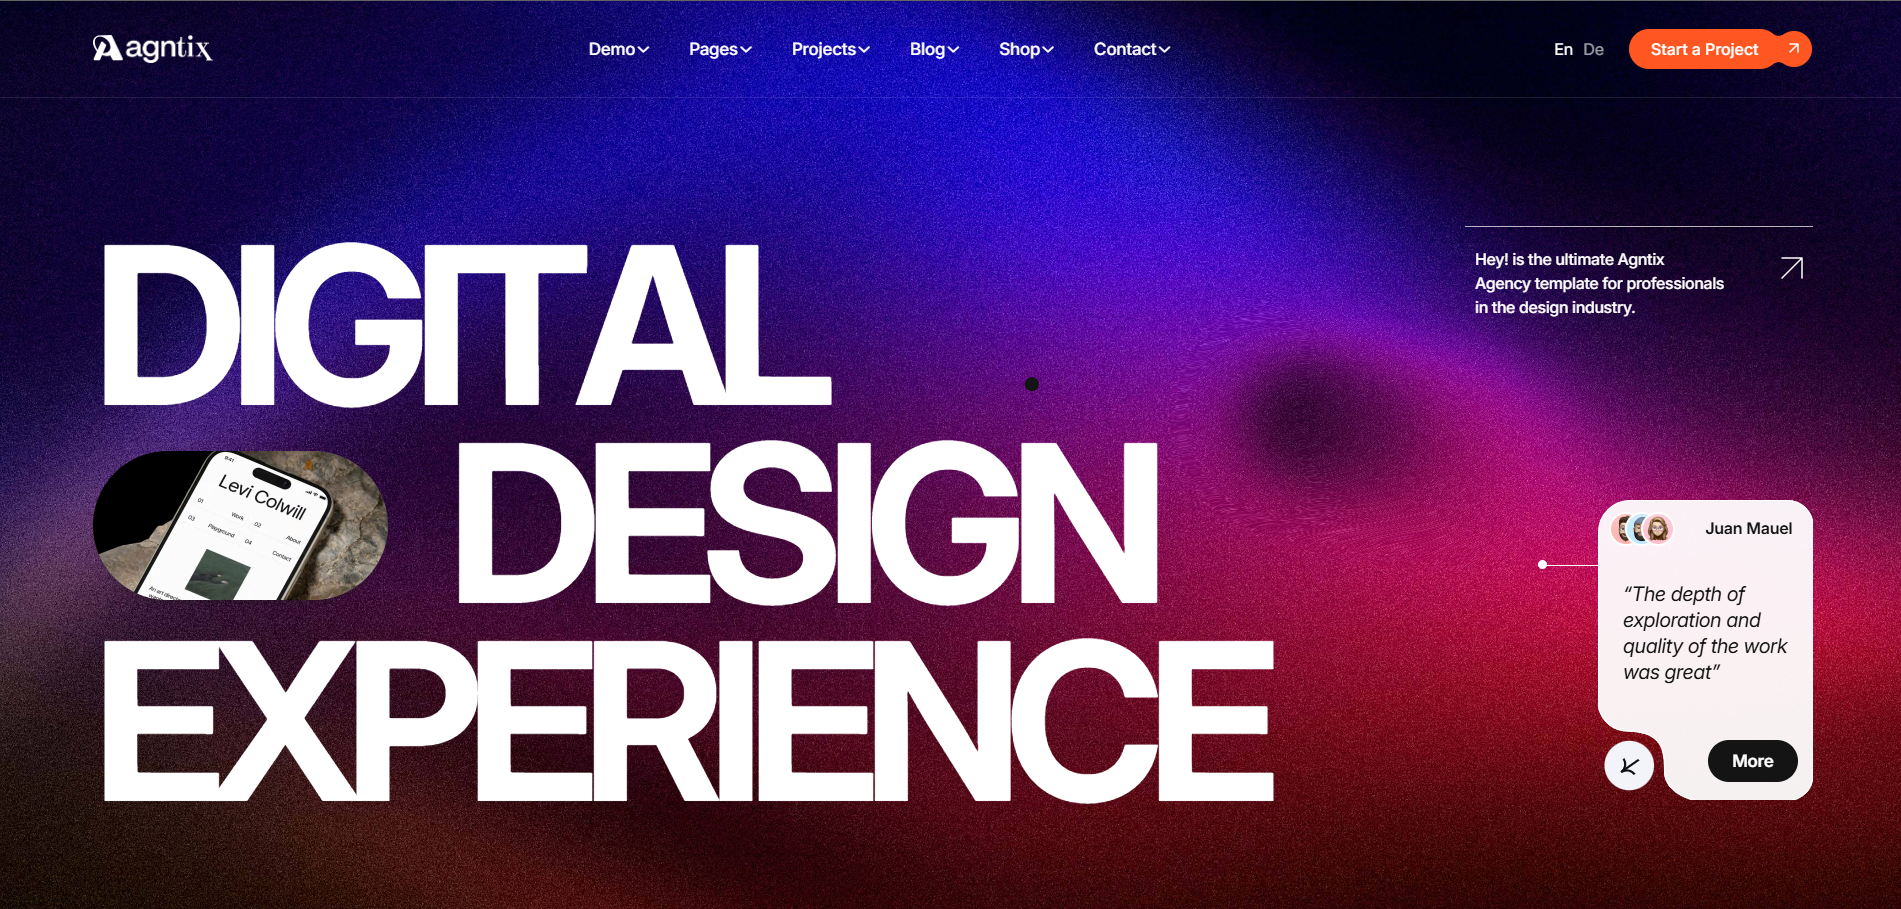
Agntix – Digital Agency vue nuxt template is a modern and feature-rich solution crafted for creative professionals seeking both elegance and functionality. Designed to elevate digital portfolios and agency websites, Agntix is an ideal fit for creative studios, freelancers, designers, photographers, marketers, video producers, and small businesses looking to make a lasting impression in the online space.
Requirements
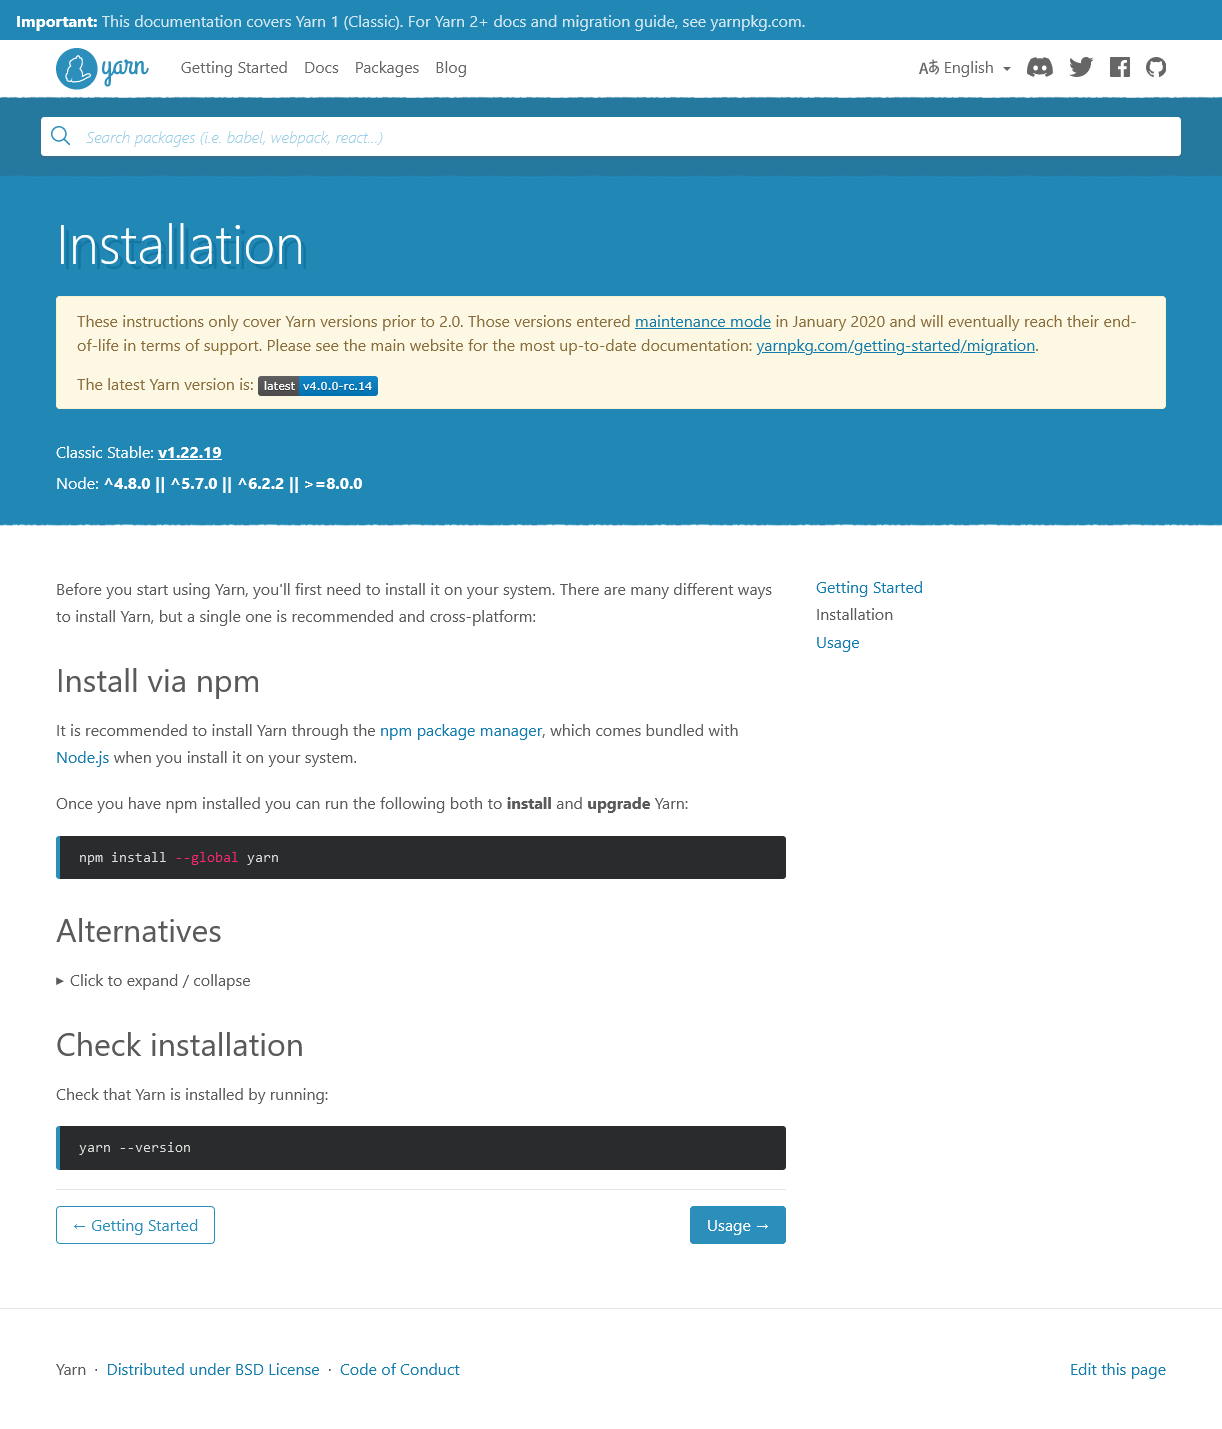
There are system requirements in order to install and setup Agntix template and its components properly. Make sure that you are installed node.js and Yarn.
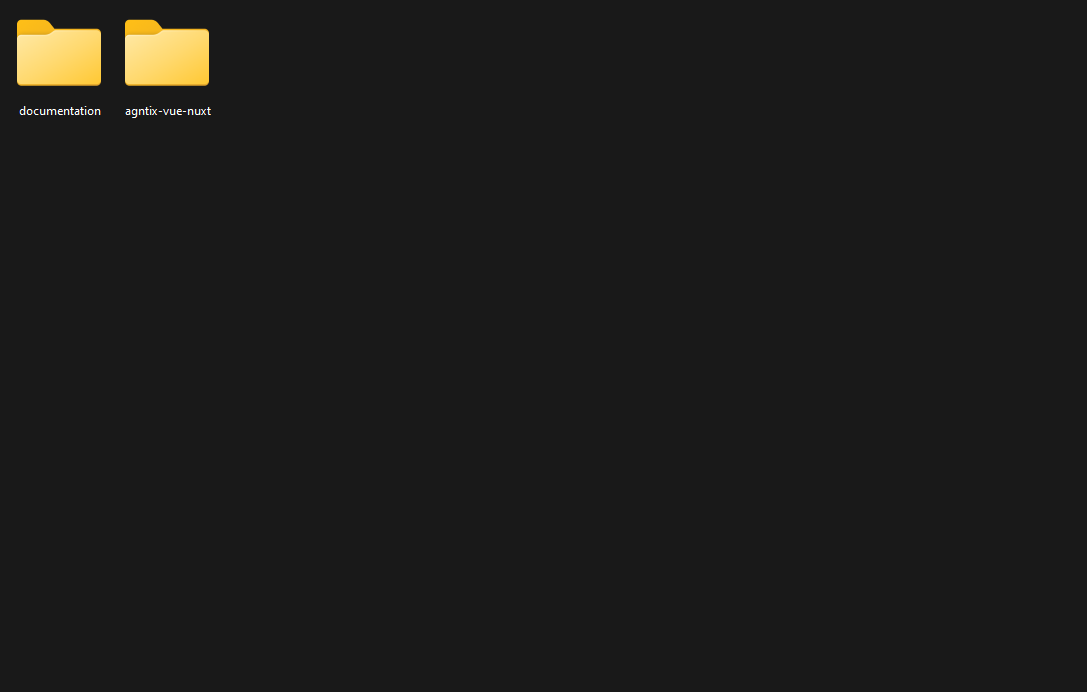
After purchasing agntix template on themeforest.net with your Envato account, go to your Download page. You can choose to download agntix template package which contains the following files:
The contents of the template package downloaded from ThemeForest
Agntix - An Vue nuxt Template file. this file you can edit and use for your business.
Documentation - This folder contains what you are reading now :)
Agntix Installation
Please follow the instructions how you can install Vue on your hosting:
For npm -
Open you command prompt
npm install or npm install --legacy-peer-deps
npm run dev (will start the dev server at http://loaclhost:3000)
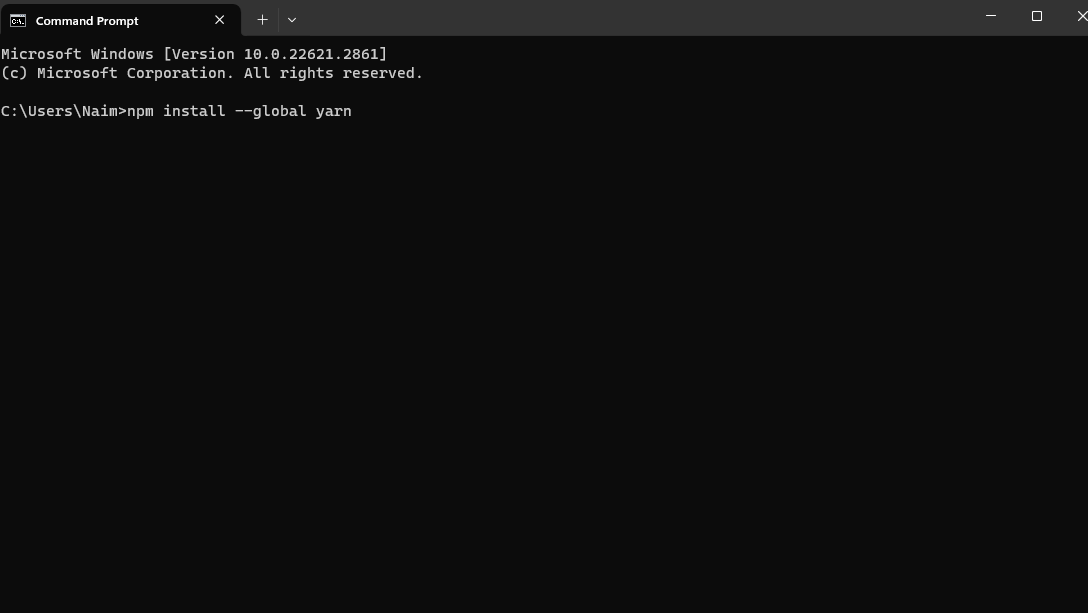
For yarn -
Open you command prompt
yarn install
yarn run dev (will start the dev server at http://loaclhost:3000)
To deploy a vue nuxt application on Vercel, you can follow these steps: -
Open you command prompt
Sign up for an account on Vercel if you don't have one already.
Connect your GitHub, GitLab, or Bitbucket repository where your vue nuxt application is hosted.
Import your repository on Vercel and select the vue nuxt project to be deployed.
Vercel will automatically detect your vue nuxt application and perform the necessary build and deployment steps.
Once the deployment is complete, you'll be able to access your application using the URL provided by Vercel.
Basic Site Settings
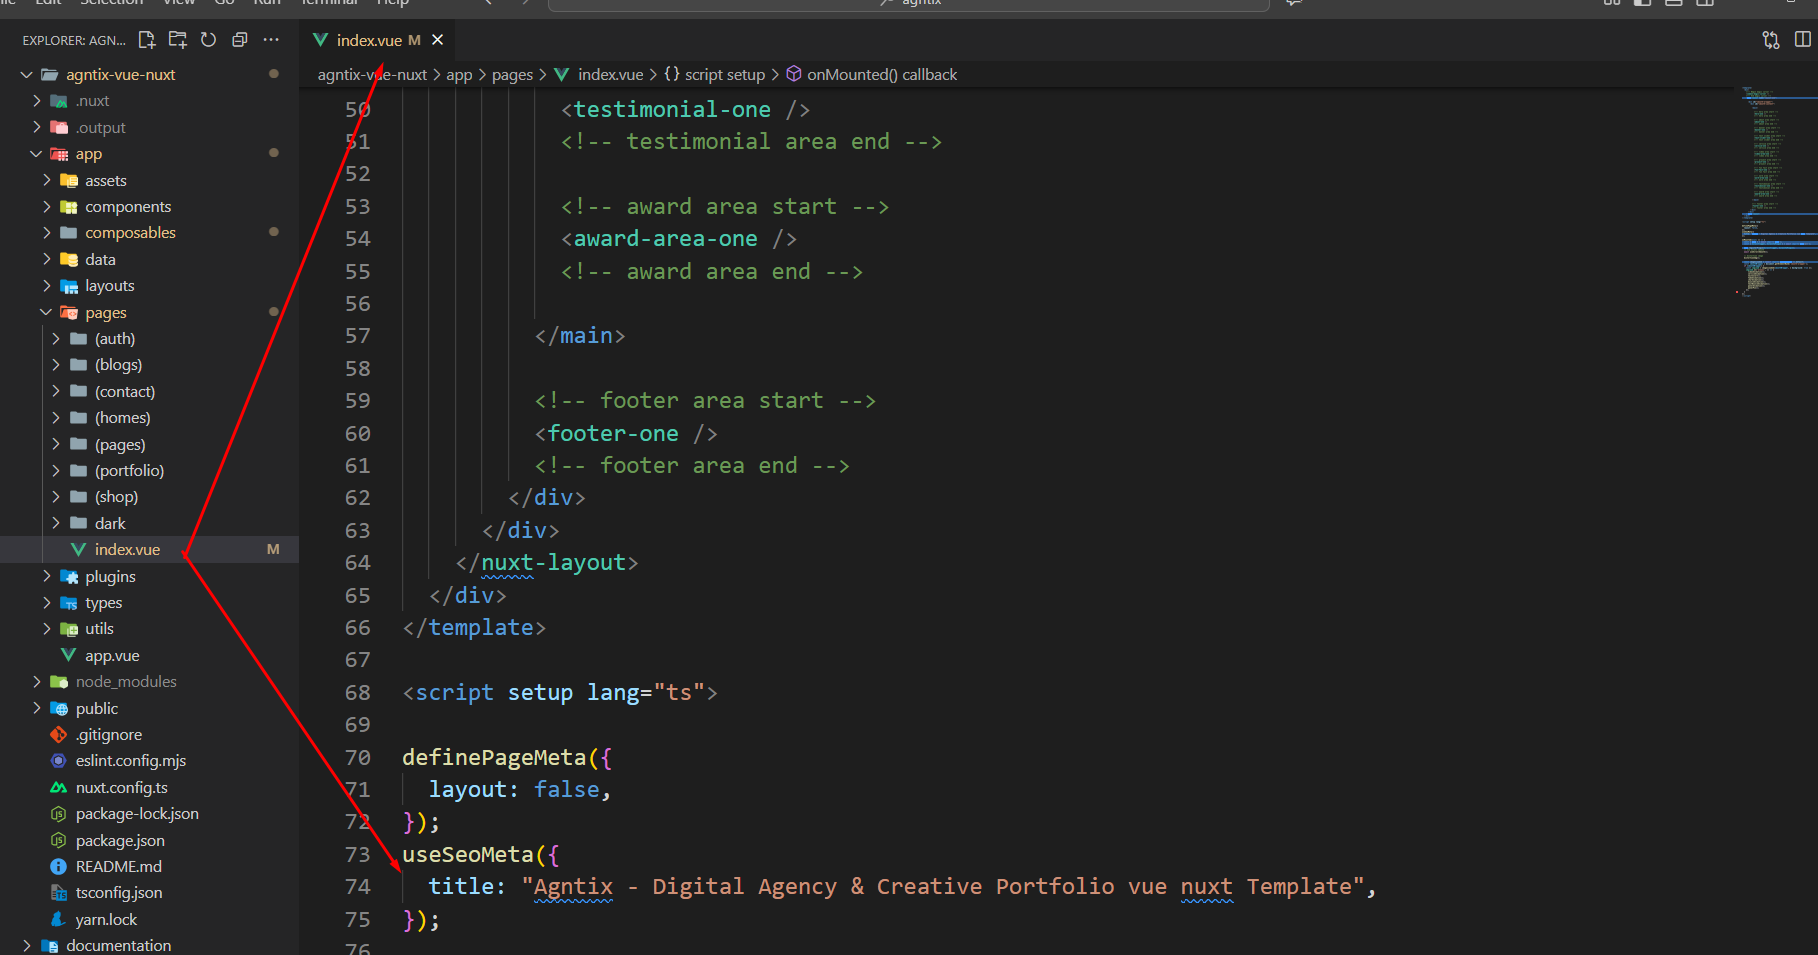
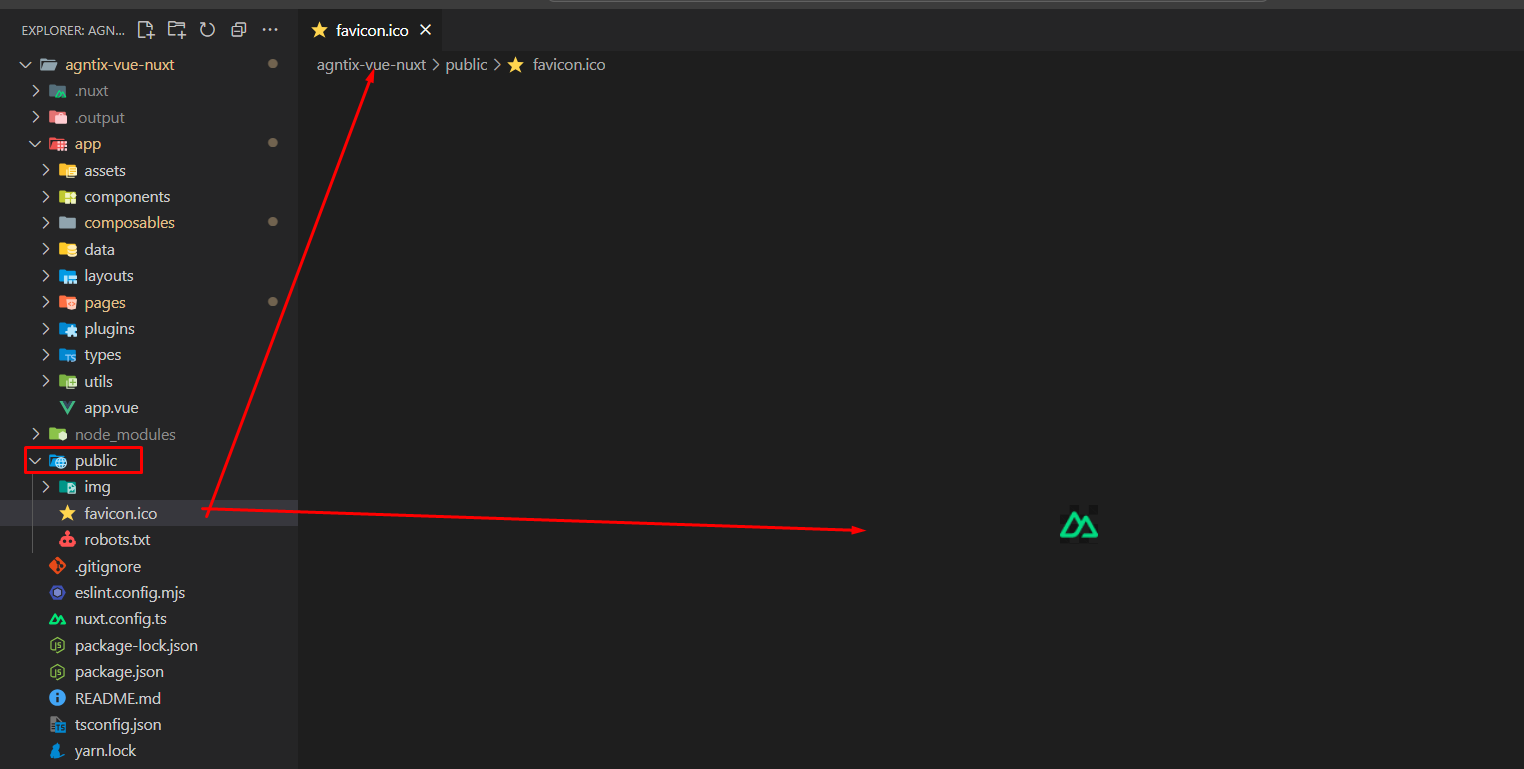
Change Page Title and Favicon
To change your Site title and Favicon open the Agntix in your editor and go to the location by following screenshot which are given bellow.
You can change page title hereYou can change favicon here
Change Logo
To change logo and customize other header data do the following:
You can change logo here
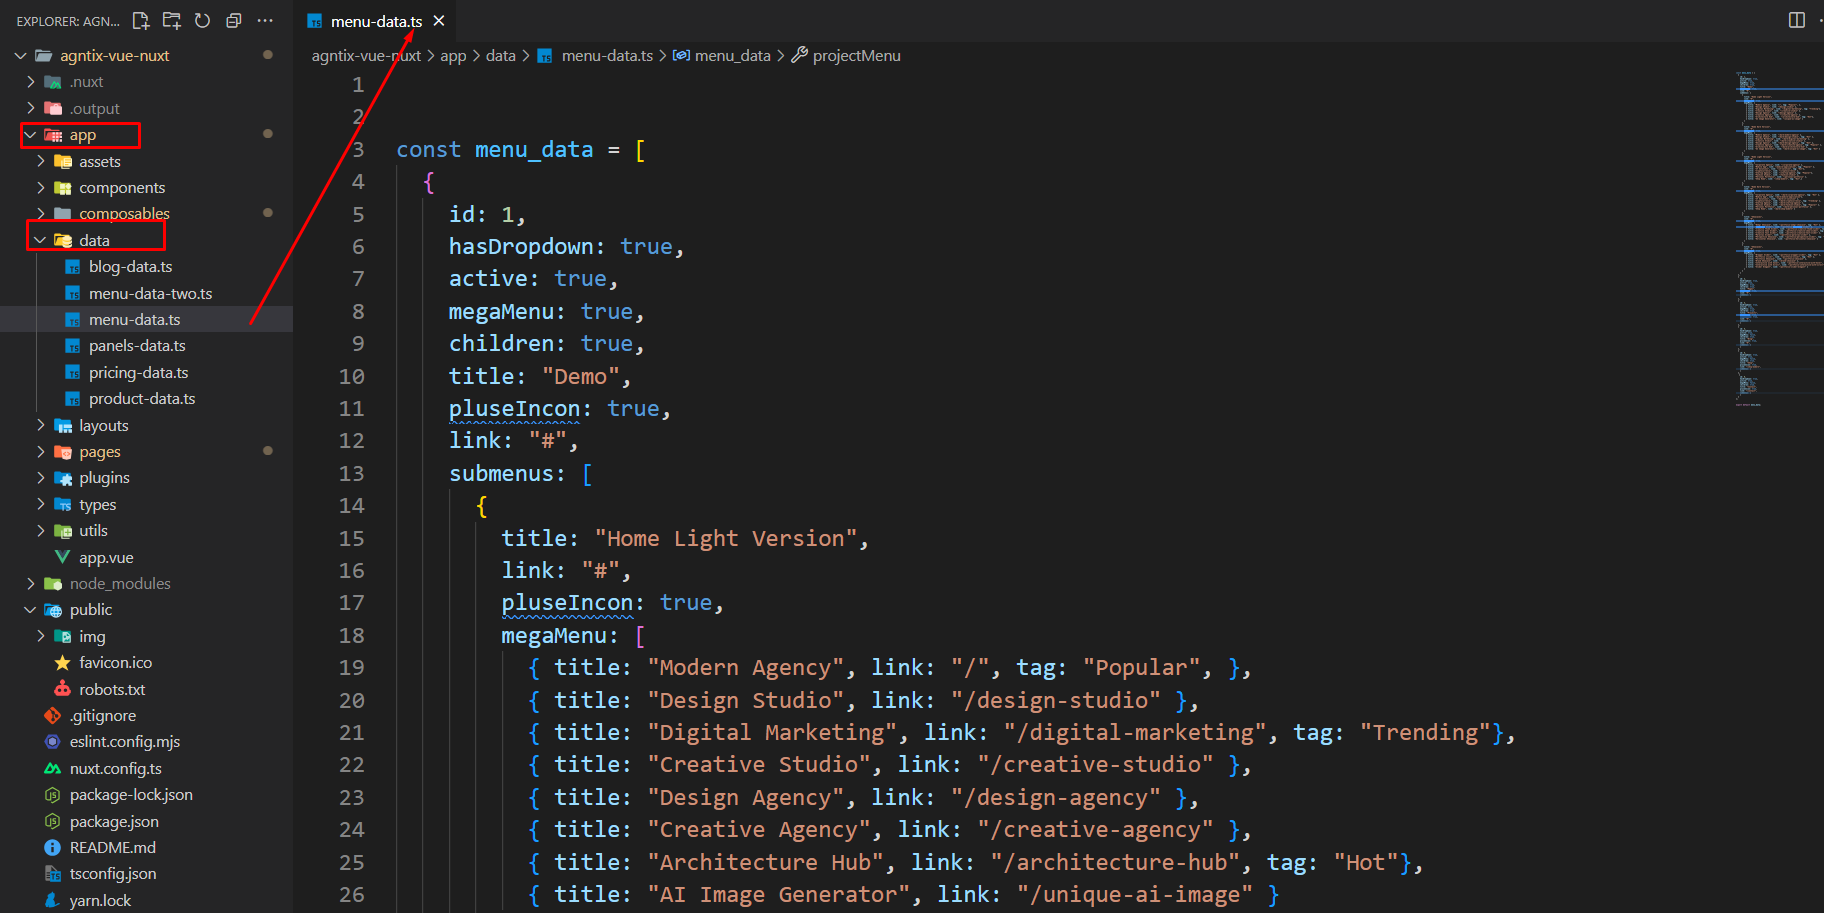
Customize Menu
To customize menu do the following:
From the project folder go to app data menu-dataOpen the menu you want to use
Then customize the menu
Customize the menu
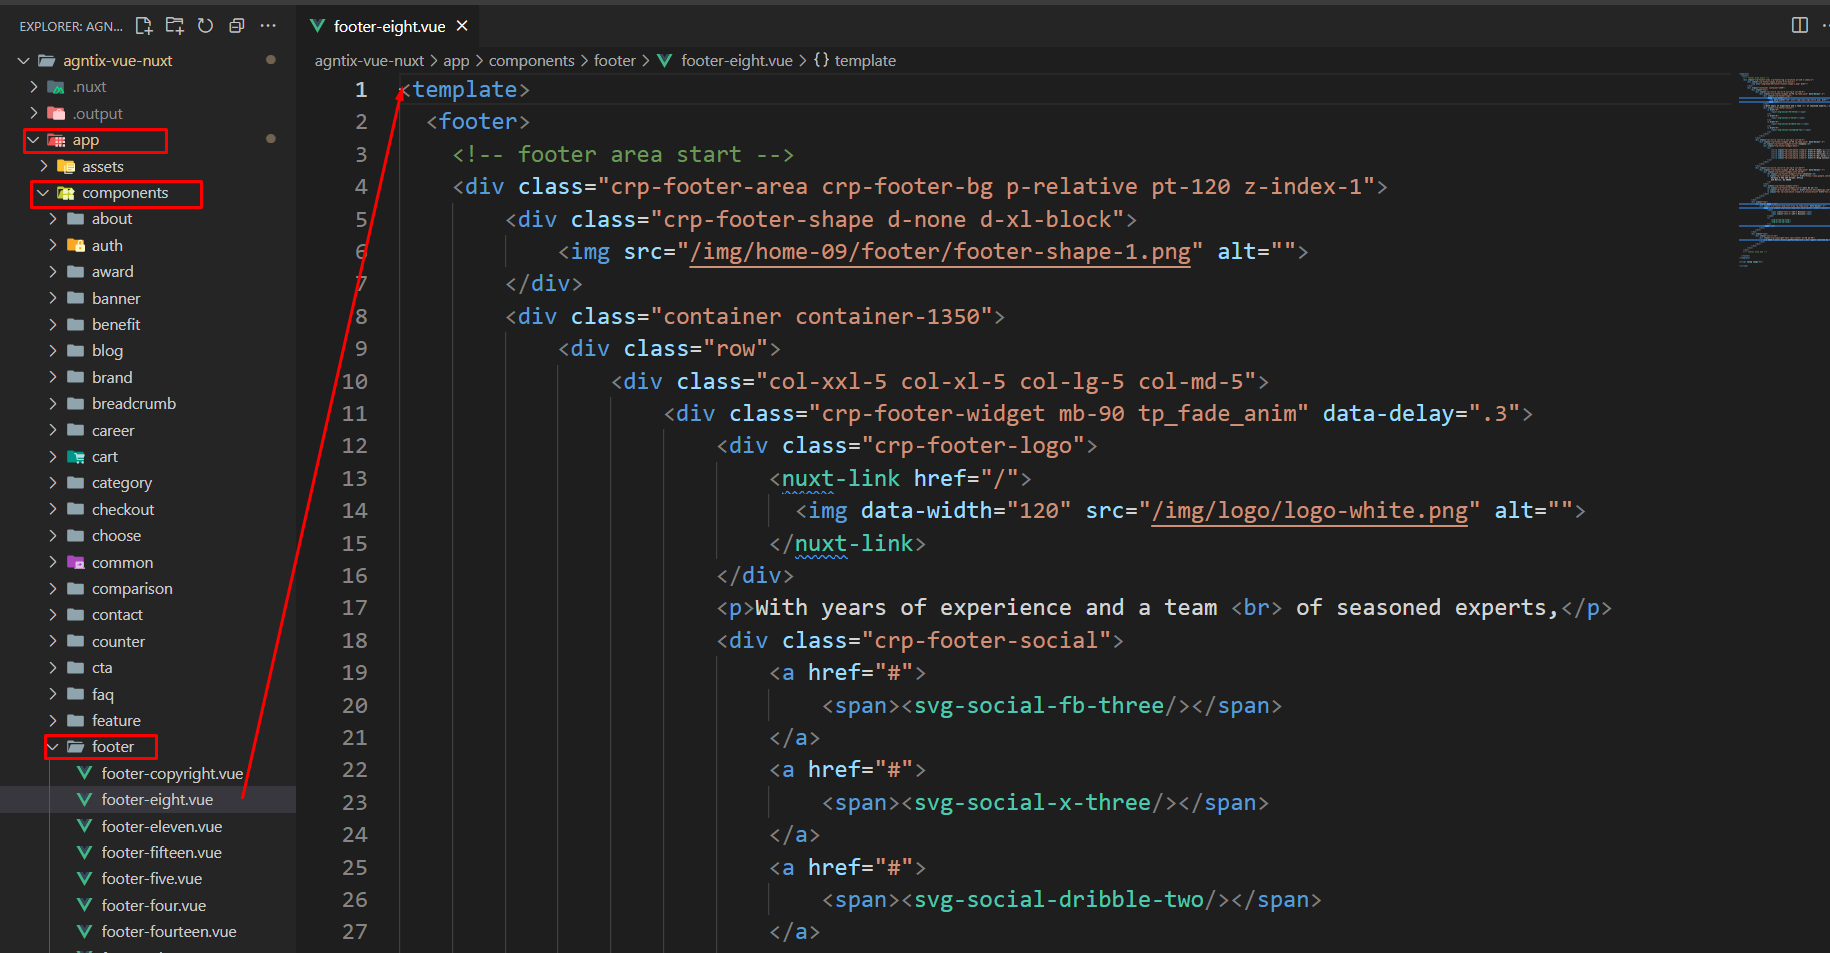
Customize Footer
To customize footer data do the following:
From the project folder go to appcomponentsfooterfooter-oneOpen the menu you want to use
Then customize the footer data
Customize the footer
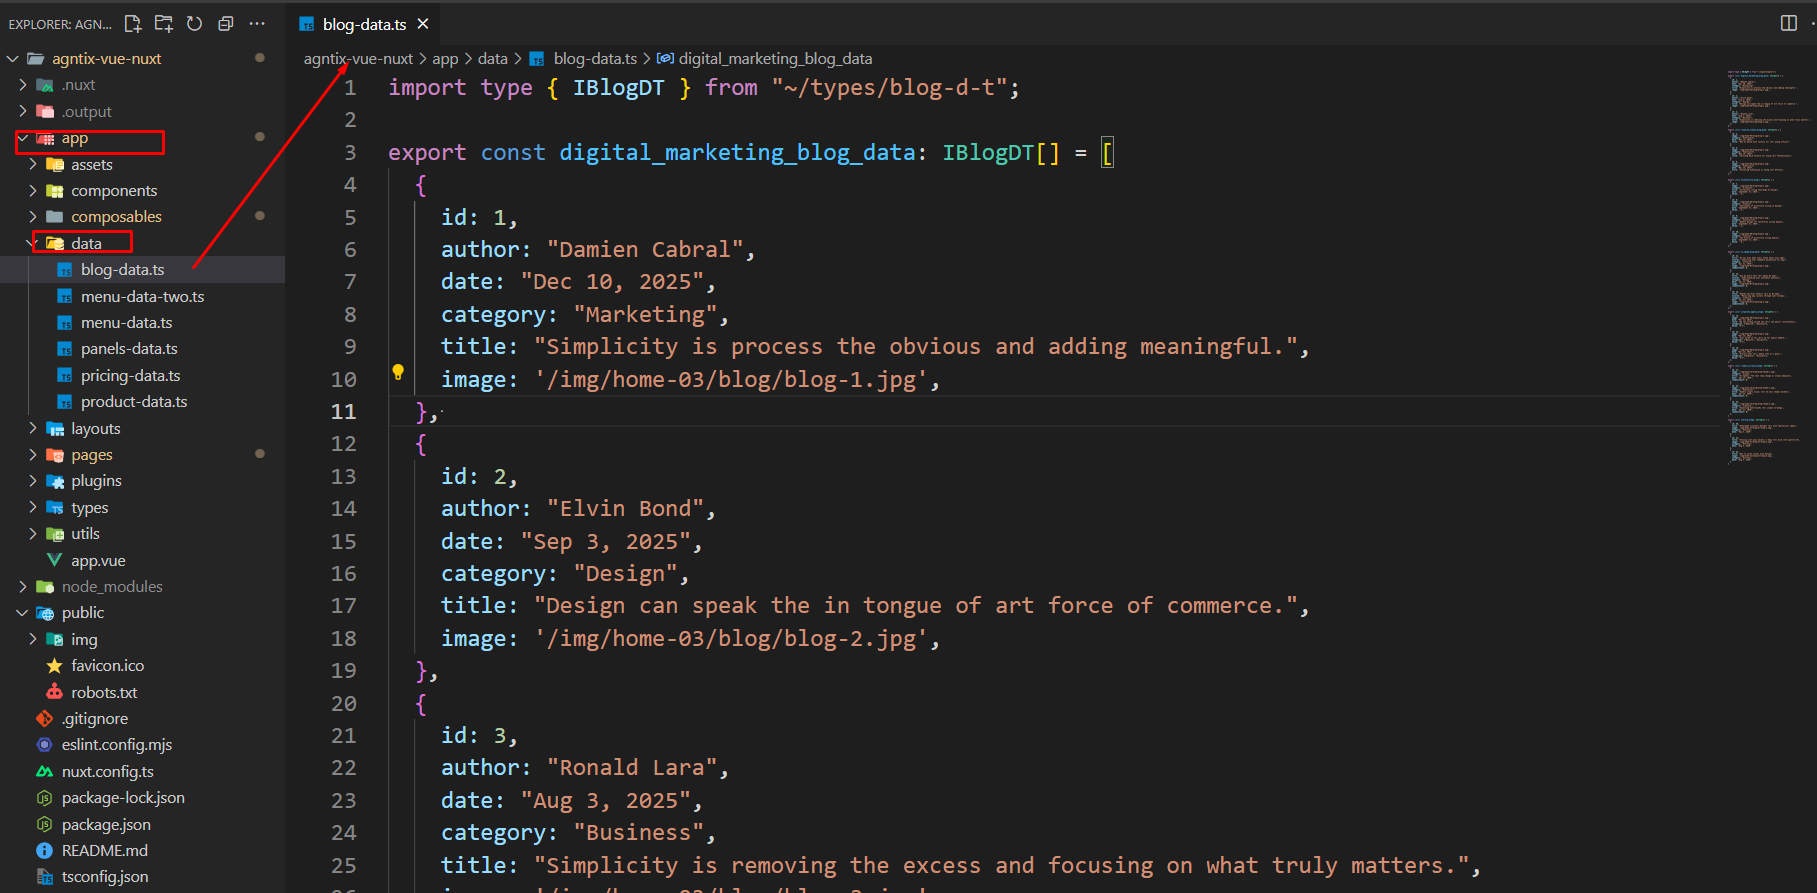
Customize Blog data
To customize blog data do the following:
From the project folder go to app data blog-bataOpen the menu you want to use
Then customize the blog data
Customize the blog
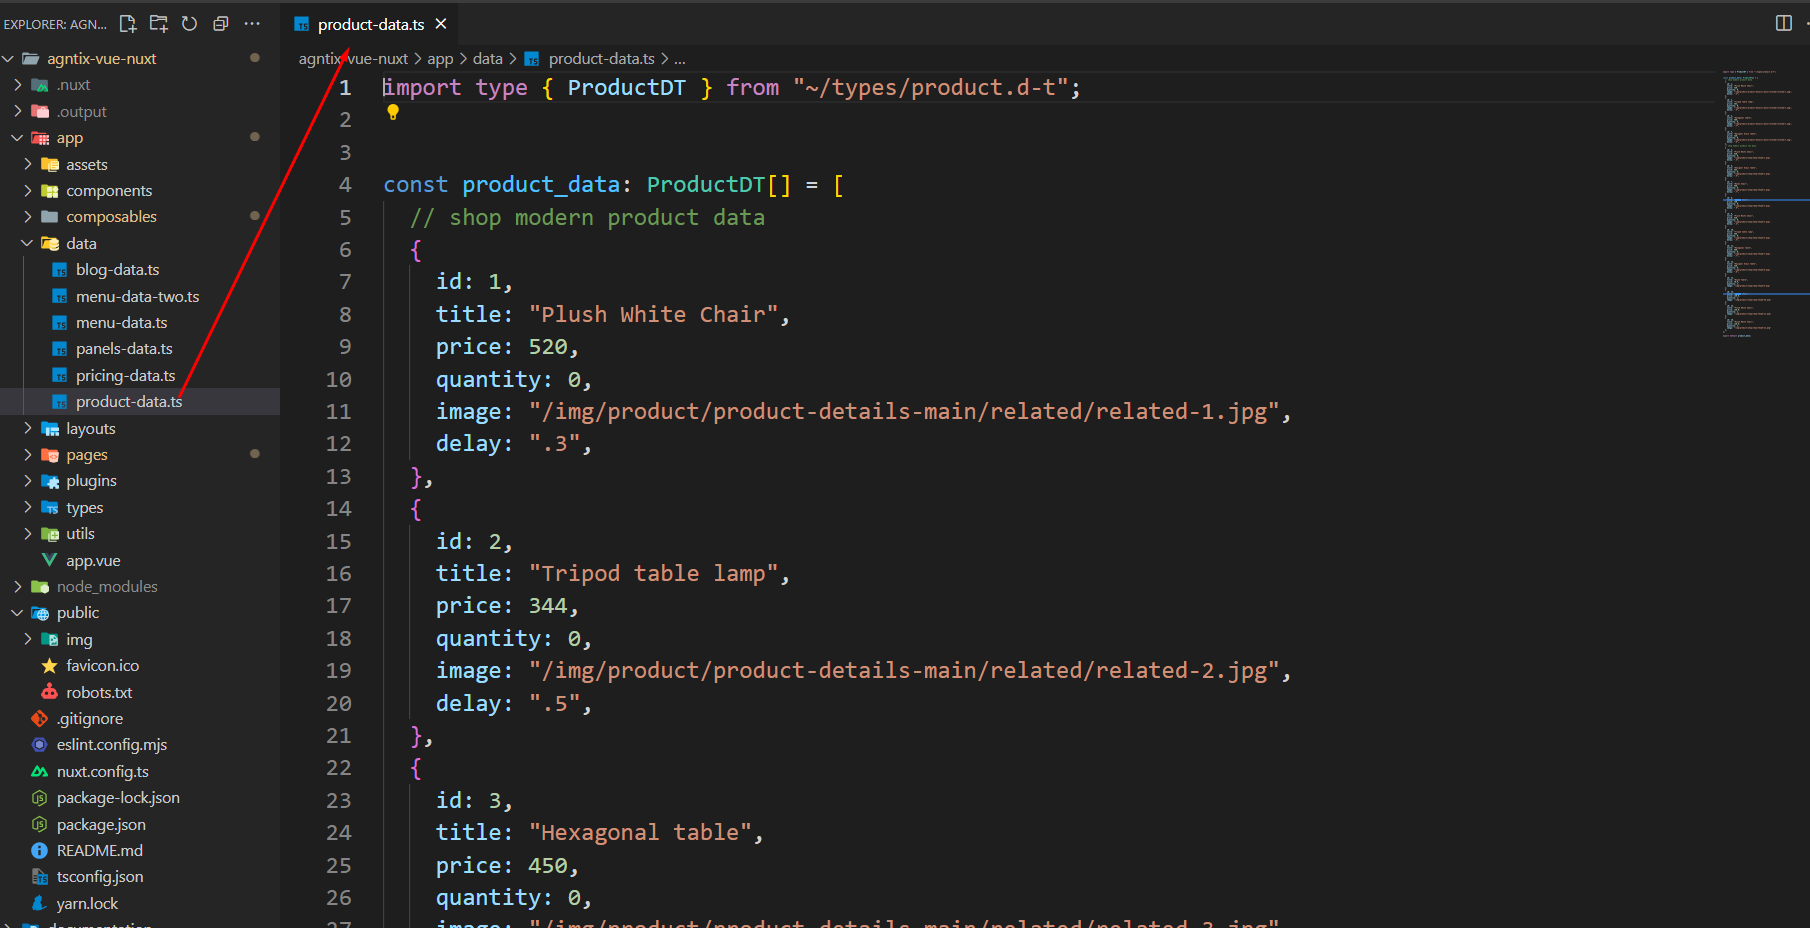
Customize Product data
To customize product data do the following:
From the project folder go to appdataproduct-dataOpen the menu you want to use
Then customize the product data
Customize the products
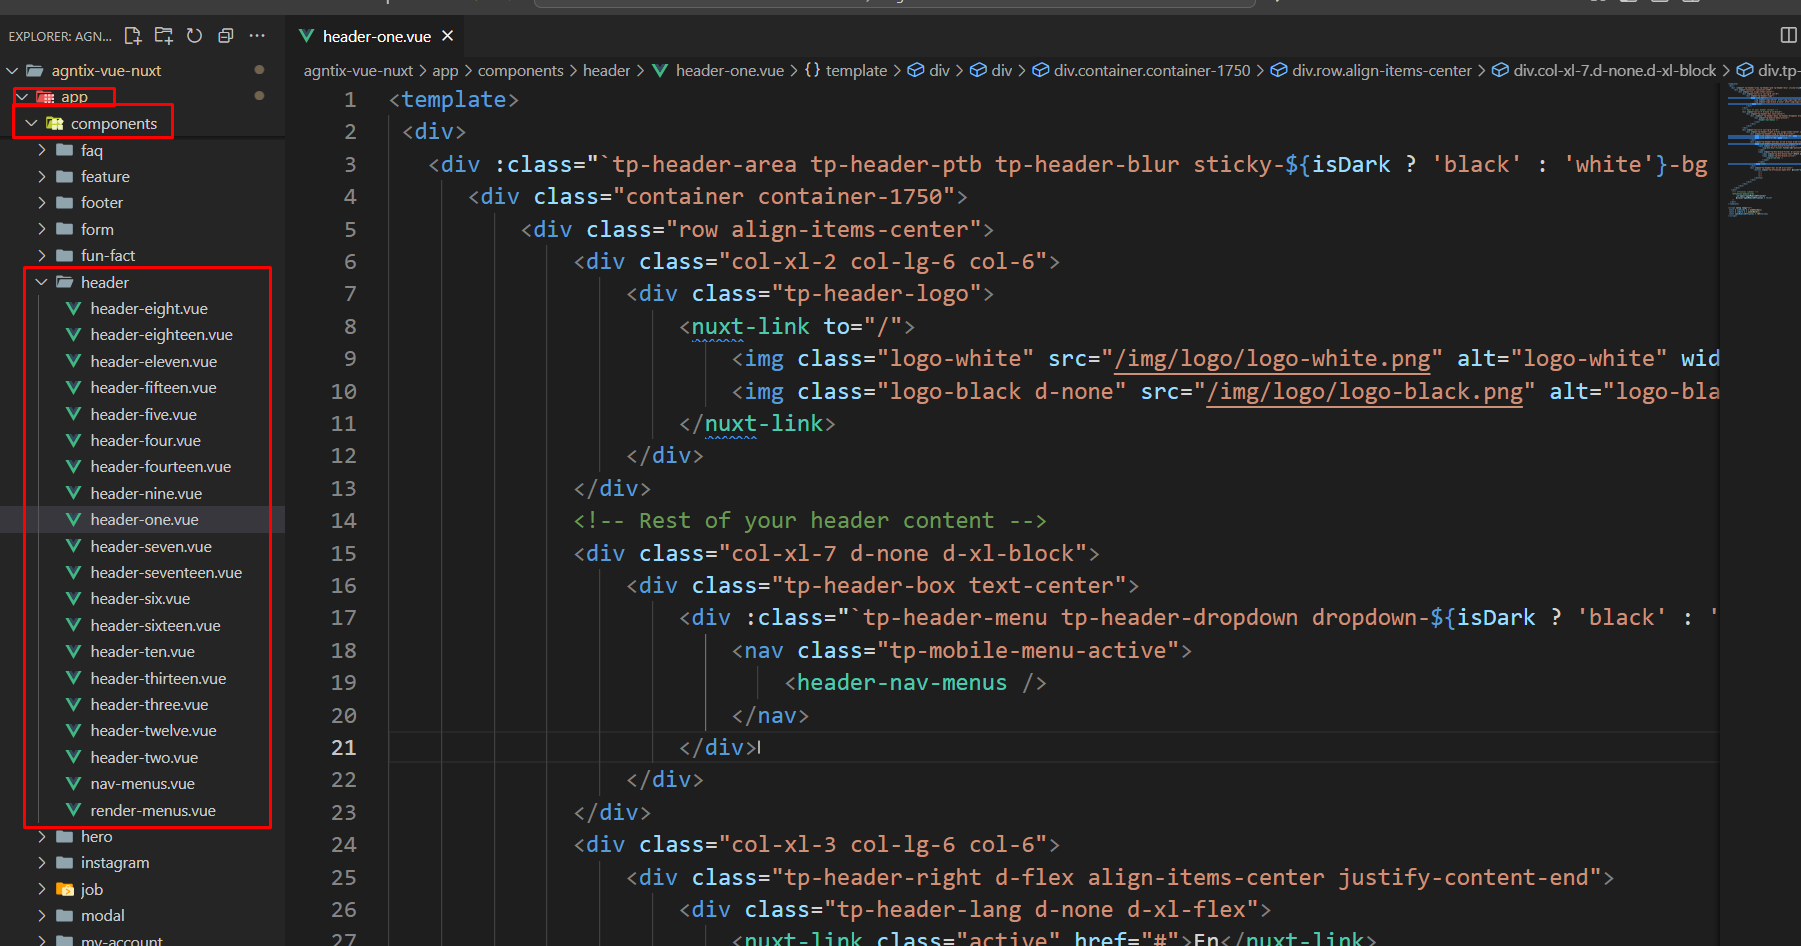
Customize Header
We gave you four header layout. you can modify the header markup there.
From the project folder go to app components headerheader-oneOpen the menu you want to use
Then customize the header
Customize the header
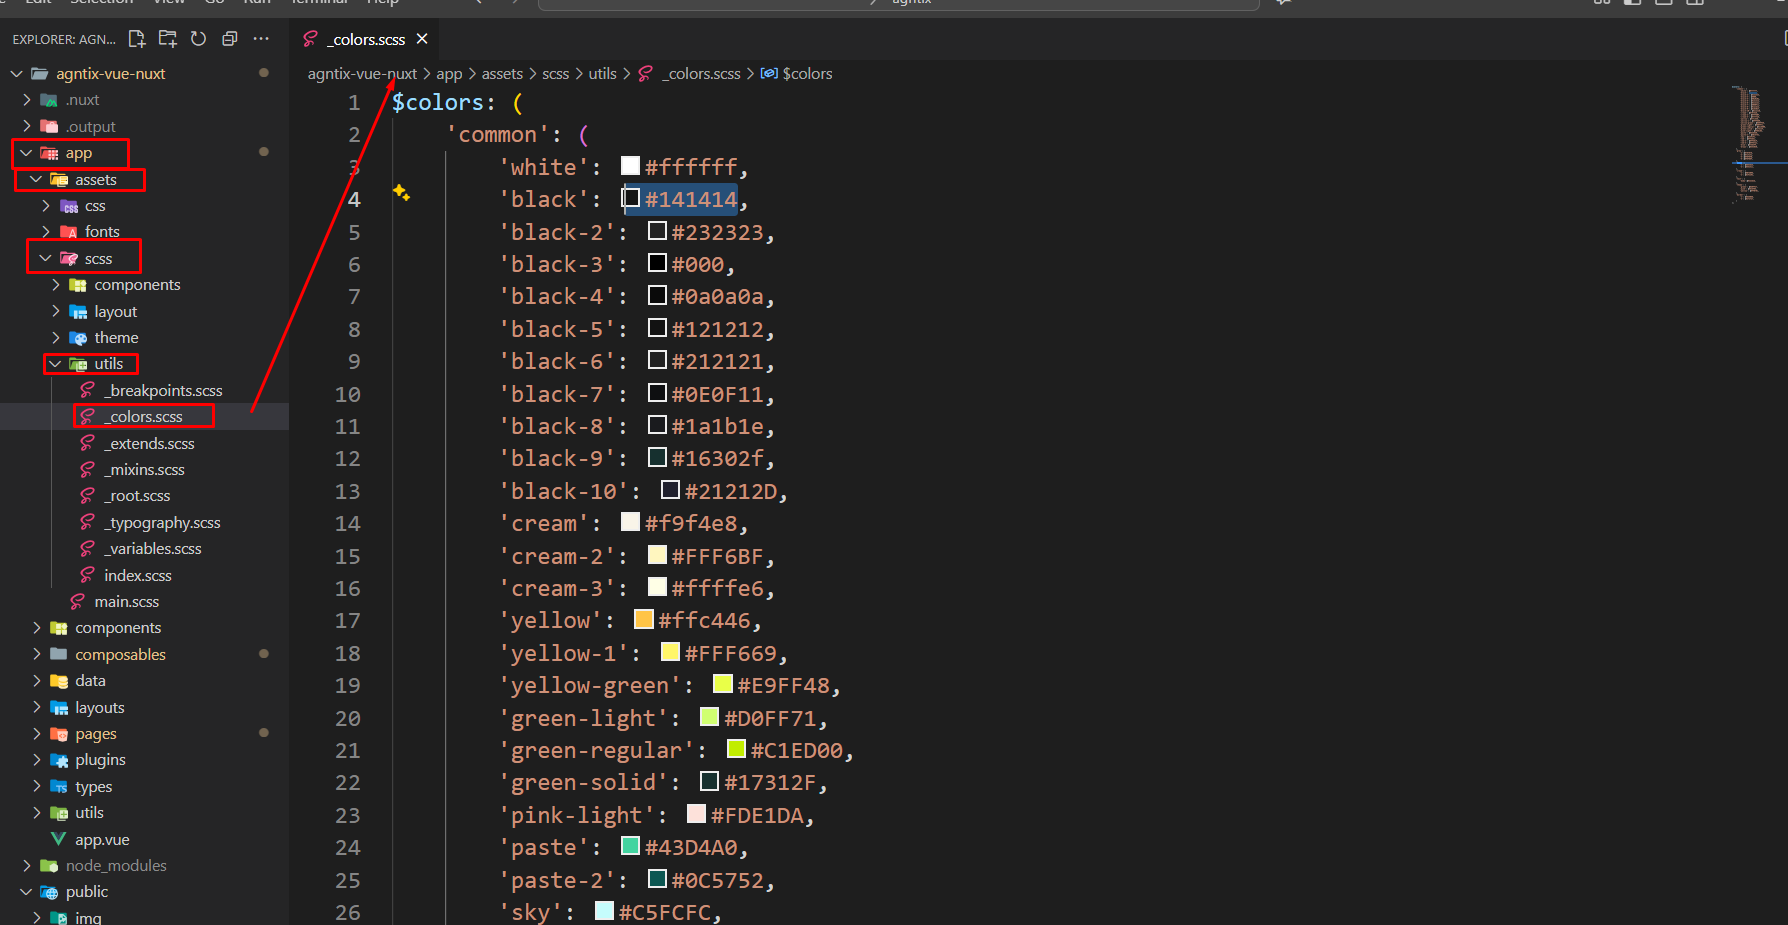
Colors
To change color and setting you can change by following this screenshot here.
From the project folder go to appassetsscssutils_colors.scssOpen the menu you want to use
Then customize the color data
Customize the color
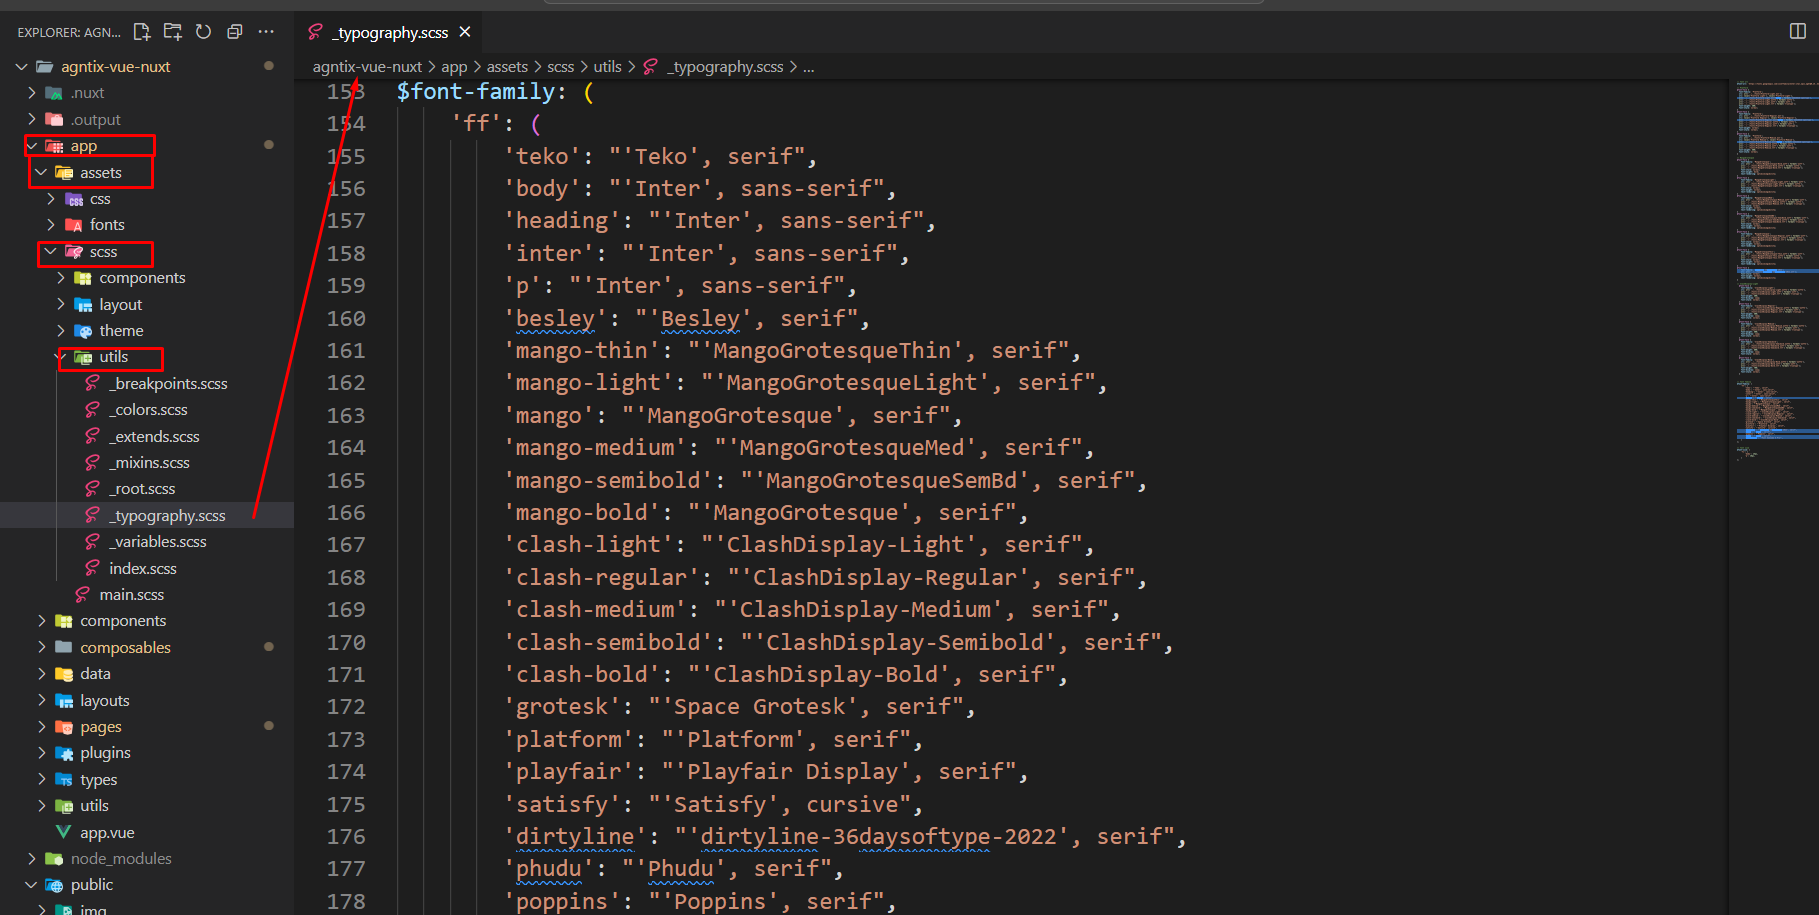
Typography
To change Typography and setting you can change by following this screenshot here.
From the project folder go to appassetsscssutils_typography.scssOpen the menu you want to use
Then customize the Typography data
Customize the Typography
Support
If you face any issue please contact us at
Support Ticket. We provide 15 hours real-time support for our customers.